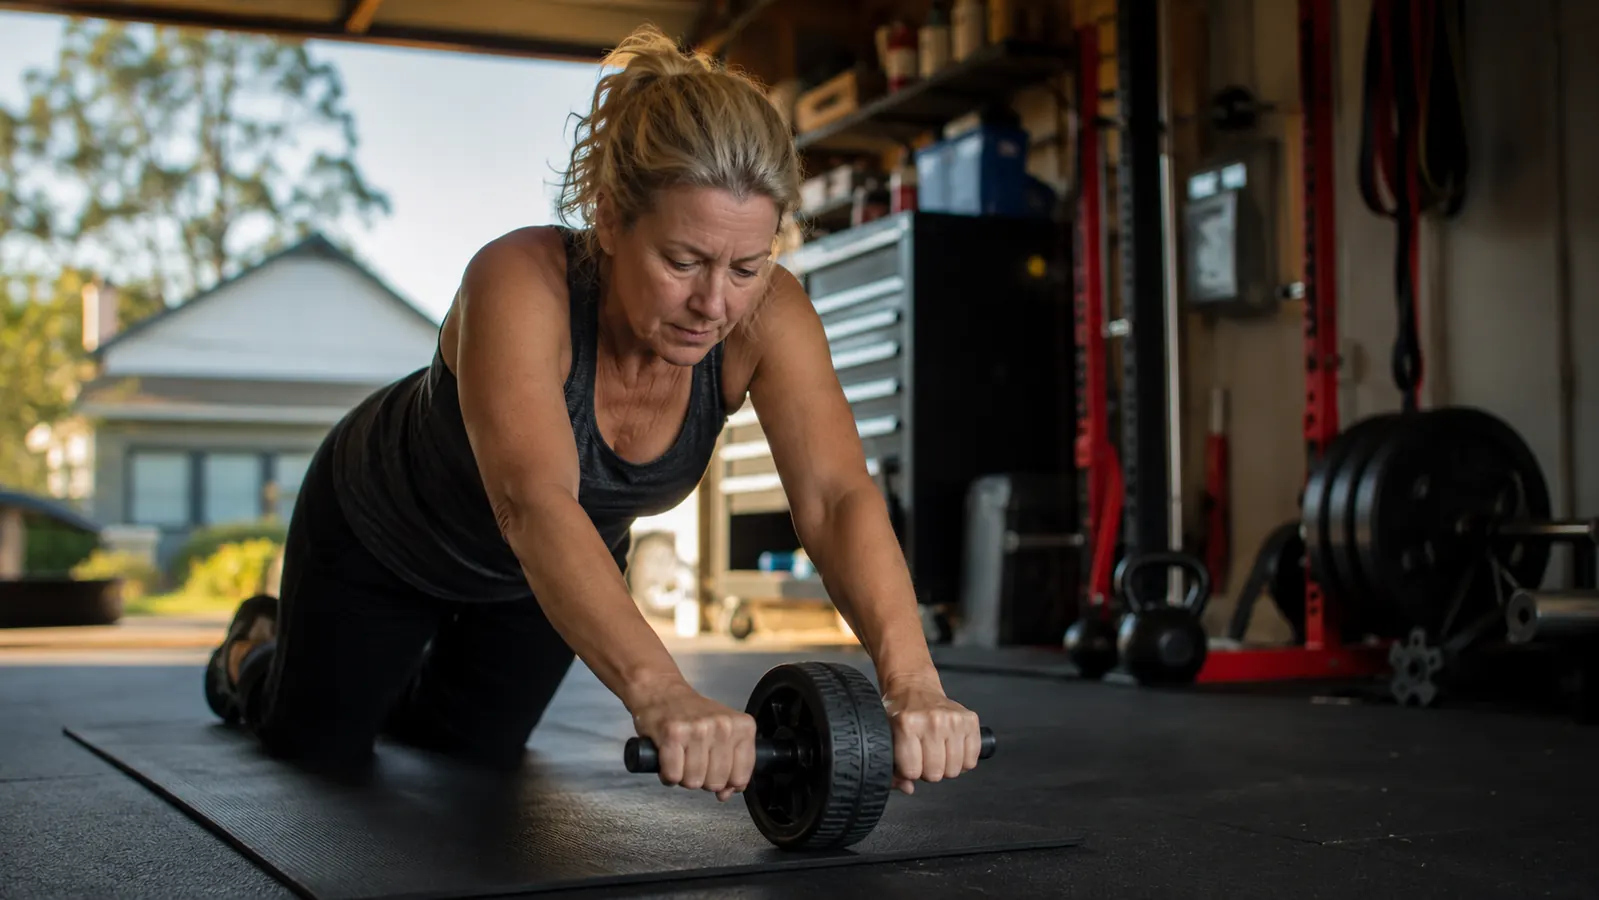
If the standard advice is more sit-ups, and your reason for not doing them is that your lower back staged a small mutiny the last three times you tried, then welcome, you are in the right place. That was me four years ago, in a garage in Mesa, Arizona, standing in front of an expensive squat stand and bench I had all but given up on. The sit-up is the one exercise that reliably made my back worse, and for a long stretch I told myself core strength just was not for me anymore.
Core strength is the opposite of not for me. It is the whole reason my lower back works at all today. The mistake is thinking it has to run through crunches and sit-ups. You can build a genuinely strong core at home without a single sit-up, and the tool that finally made everything click for me was a wheel. This is the Luyata 10-in-1 ab roller kit, and what follows is a plain-spoken, step-by-step plan built around it, written for someone who has taken a hit to the lower back and is done being sold to.
The one tool that got core work back into my routine
The Luyata kit bundles the wheel, a pair of resistance bands, a knee mat, and a jump rope, so the whole progression below lives in one box, ready for the corner of your garage.
Amazon Check Today's Price on Amazon →Step 1: Warm up the spine and the hips before the wheel touches the floor
Rolling a wheel is a loaded movement, not a casual lean. If your hips have been tight for years and your lower back has been quietly flexing to make up for it, you are set up to get hurt in the first minute. So the first five minutes of every session are not optional, no matter how much you want to get to the good part.
On your hands and knees on the mat, do ten slow cat cows, letting the spine round and then melt back to flat while you breathe. Follow with ten bird dogs, reaching one arm and the opposite leg out and holding for a few seconds, keeping your hips level and your lower back still. This is not a hamstring stretch. The point is to get your hips moving and stop your ribs from hitching up toward your shoulders every time you brace. Five minutes of this, then you are allowed to pick up the wheel.
A warm-up here is doing double duty. It wakes up the deep stabilizers that a day of sitting has switched off, and it gives your brain time to remember that moving your spine is safe. I have skipped this step exactly once, and that is the session I regretted.
Step 2: Teach your core to switch on without the wheel
Before you can roll a wheel, you have to be able to find your core at all, and most of us cannot. The best test I know for this is the dead bug against a wall. Lie flat on the mat, plant your feet on the wall so your knees are bent to about ninety degrees, and press your lower back into the floor. Slowly lower one heel toward the ground while keeping that low back glued down. The second your back lifts off the floor, stop. That is your range, honor it. Breathe and do four or five per side. It looks impossibly boring, and it is doing more for your spine than a hundred crunches ever did.
The other foundation move is the forearm plank, but on your own terms. Prop on your forearms, feet tucked, and brace your belly and glutes like you are getting ready to absorb a light bump. Hold for twenty seconds, then let go. When it starts to shake, it is done. One clean twenty-second brace is worth more than a wobbly two-minute imitation that loads your lower back. Do two or three of these before your first session with the wheel, and keep them in the routine forever.
I want to be straight about why these two matter before the wheel enters the picture. The wheel will not fix a back that cannot hold a neutral spine during a simple plank. It will just make you feel bad about it louder. Build the brace first, and the wheel becomes a celebration of work you already did, instead of a punishment.
Step 3: Set up the kit so nothing slips and nothing wanders
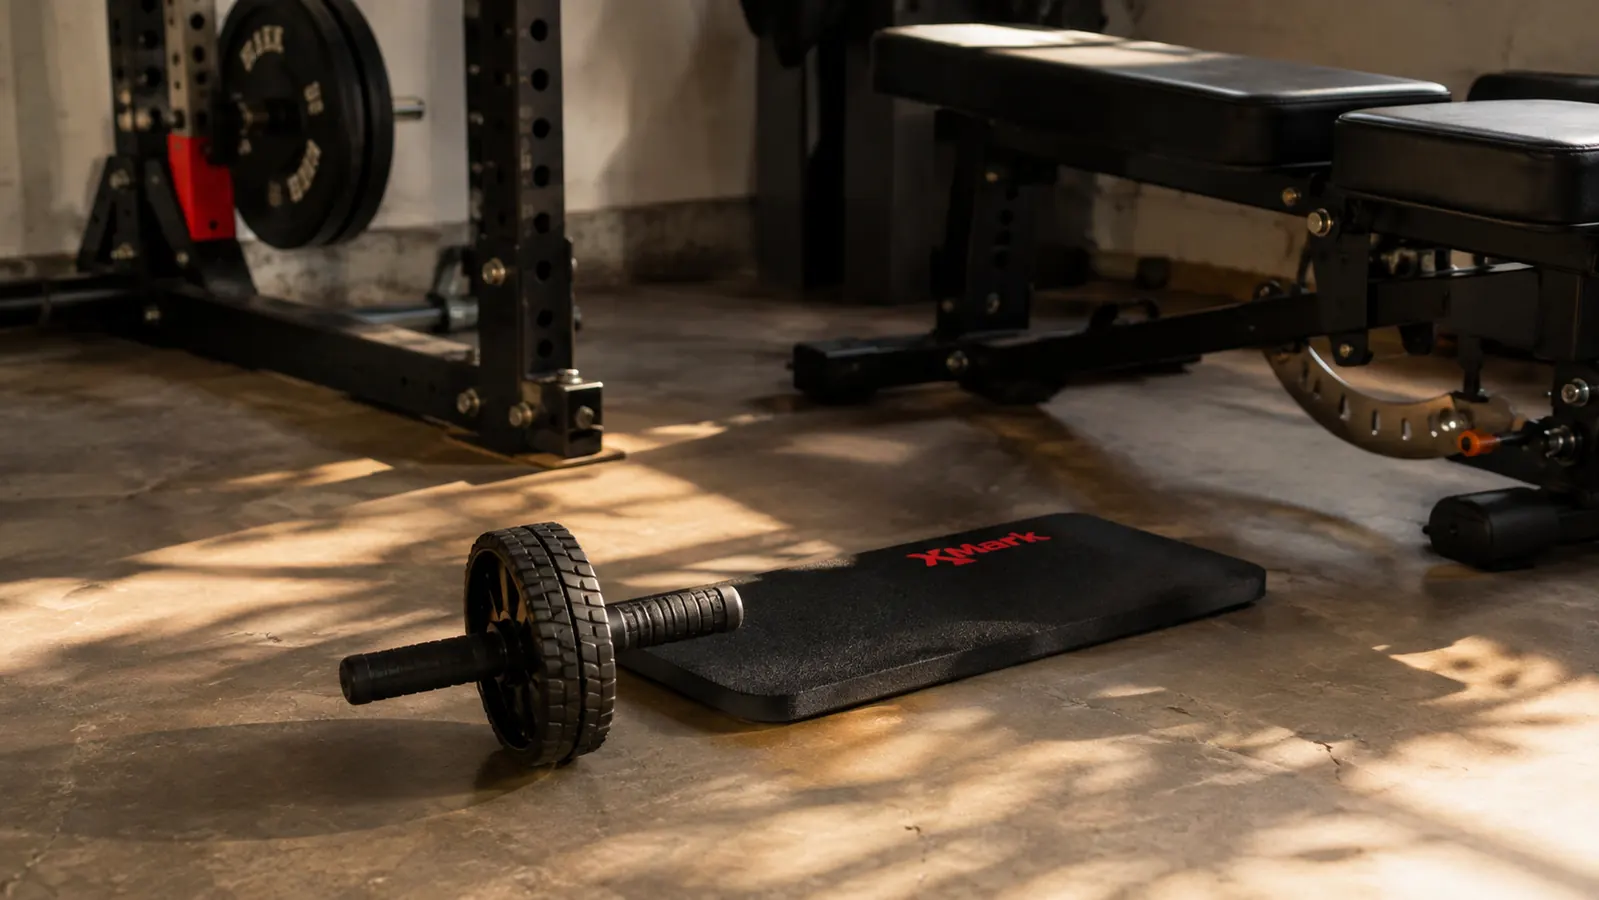
This kit is called 10-in-1 because it bundles the wheel, a pair of resistance bands, a knee mat, and a jump rope. Right now, ignore the extras. The pieces you actually need are the wheel and the knee mat. That mat matters more than most people think. On a hard garage floor, a bare knee will end your session on the third rep, and an aching knee will beat the strongest intention.
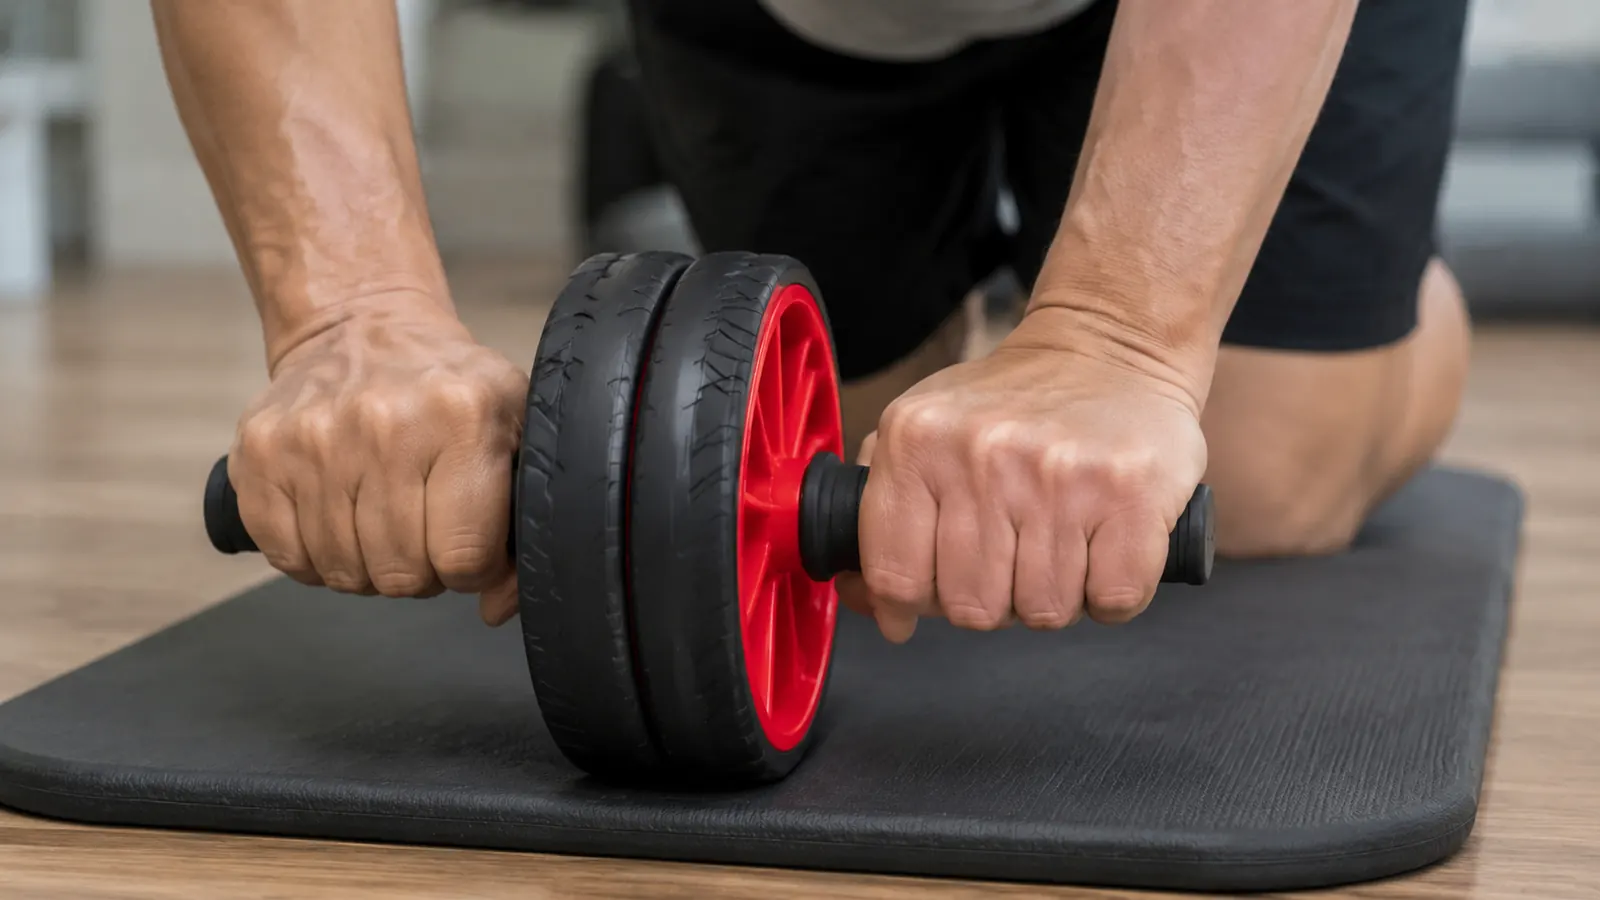
Kneel on the mat and grip the handles on either side of the wheel. Set up so the wheel sits directly under your shoulders, not out in front of you. This is the detail nobody mentions and the one that protects your back from the very first roll. When the wheel starts wandering off your travel line, do not wrestle it with one arm. Stop, reset, and pull it back under your shoulders before you go again. You are training a straight line, not racing a marble through a maze, and every reset is part of the coaching.
A word on the bands and the jump rope, so you are not surprised later. I bought this kit for the wheel and kept it for the mat. The bands are genuinely useful for the progression in step five, but the jump rope mostly gathers dust, and I will not pretend otherwise. Every bundle has pieces you never touch. The honest version of this review is that the wheel and mat earn the price, and the rest is a bonus you may or may not use.
Step 4: Learn the correct half roll, not the full roll
This is where most people get hurt, and where I came within a session of hurting myself. The temptation, because it is what every photo shows, is to roll all the way out to full extension and hang there. Your back will not survive that in week one, and you do not need it to. The move that actually builds the core is the half roll: hinge at the hips, brace your belly hard, and roll the wheel forward only as far as you can keep your low back from sagging.
Keep your hips stacked over your knees and your back flat, not arched at the base and not hunched in the middle. Roll forward maybe a foot and a half while you exhale, hold for a beat at the end, then roll back by pulling with your abs rather than pushing with your shoulders. Ten controlled half rolls beat five sloppy full ones every day of the week. If your lower back starts to take over, you have found your real range, and that is information, not failure.
Here is the specific proof that convinced me this was working. The first three sessions I could barely hold a foot and a half without my low back caving in. Four weeks in, once a week, I rolled to a full straight arm with a flat back for the first time since the episode. That was the day I stopped dreading the session and started looking forward to it.
Step 5: Add the resistance bands, let reps and distance do the progressing
Once ten controlled half rolls feel boring, you have two ways to make it harder, and you need to add zero weight for either. First, clip a resistance band to the wheel and anchor the other end under your knees or behind you, so it pulls gently on the way back and adds a little fight on the roll. Second, roll a few inches farther while everything stays flat. Distance on the wheel is the most honest measure of core strength I know, because your lower back will complain at exactly the moment you have gone too far.
Do three sets of eight to ten half rolls twice a week, and add the band only when the unweighted wheel has gone easy. Two honest sessions a week beat five sloppy ones. And if the jump rope is in the box, it is fine as a warm-up for your shoulders and heart, but it is not why this kit is worth it. The wheel and the mat are the whole reason.
Progression on this wheel is quieter than you expect, and that is the point. You are not chasing heavier and heavier until something gives. You are chasing a slightly longer roll you can hold flat, then a band that adds a little resistance, then a few more clean reps. Slow arithmetic, not a dramatic transformation. For a lower back that has let you down before, that is exactly the kind of progress you can trust.
What Else Helps
First and most important, your form decays the moment you get tired, and tired is when things break. Stop at the first sign of a sagging low back, not at the tenth rep you can force through. I have a personal rule I would hand to anyone over fifty: if a move hurts in the low back, that is not weakness talking, it is the range telling you to back off. Strength at our age comes from consistency, not from one heroic session you spend the next week paying for.
Second, the core work is a support act, not the whole show. My back got better because I strengthened my glutes and hips as well, with a squat stand and an adjustable bench in the garage. The wheel gave me a core that could hold a squat together at the bottom instead of collapsing. They are partners, not rivals. A strong core under a weak posterior chain is half a program, and I say that as someone who learned it the slow way.
Third, and this is the part nobody sells you, foam rolling and a daily twenty minute walk did more for my back than any single exercise. The wheel is a tool in a toolbox, not a cure, and anyone framing a piece of gym equipment as the fix for back pain is selling you trouble. Buy it because you enjoy honest core work, not because something promised you a new spine.
Four weeks in I rolled to a full straight arm with a flat low back, and for the first time in years my back was quieter at night than it was in the morning.
If you have been told since your back episode that core strength is beyond you, I understand why that reads as a hard no. It read that way to me. The wheel is inexpensive, the routine is short, and I would rather you start with a half roll on your knees than never begin at all. That is the whole pitch, and it is the honest one.
Start with the half roll. Your back will thank you.
The Luyata kit is the tool that got core work back into my garage routine. If you want to try the same progression, the wheel and the knee mat are all you need to begin.
Amazon Check Today's Price on Amazon →